Renter-Friendly Kitchen Organization With No Drilling (Printable Checklist)
A rental kitchen can feel impossible to organize: small cabinets, no pantry, a landlord who said no to holes in the walls, and counters that fill up the moment you cook one meal. The fix is not a remodel or a cart full of new containers. It is a simple system built around zones, eye-level placement, and removable tools that leave no damage behind. This guide walks through renter-friendly kitchen organization with no drilling, step by step, so you can set it up in one weekend and keep it working with a ten-minute nightly reset.
In short
- Start by clearing one counter completely, then keep it clear.
- Group everything into four zones: cook, prep, store, and clean.
- Put daily items at eye level and move rarely used items higher or lower.
- Use shelf risers, turntables, tension rods, and adhesive hooks instead of drilling.
- Finish each night with a ten-minute reset: clear counters and an empty sink.
Why rental kitchens feel harder than they are
Most rental kitchens fail for the same three reasons. First, everything lands wherever there is an open spot, so the baking supplies end up next to the cleaning spray and the everyday plates sit behind a waffle maker used twice a year. Second, cabinet space goes to waste because one tall shelf holds a single row of short items, leaving empty air above them. Third, the counters become storage, which leaves no room to actually cook, so every meal feels cramped and every cleanup feels bigger than it is.
None of those problems needs a drill. They need decisions about frequency: daily items earn the easiest spots, weekly items get a defined home one step away, and rare items move to the highest shelf or out of the kitchen. When each item has one home matched to how often you reach for it, you stop hunting and putting groceries away takes minutes.
Start with one clear counter
Do not empty the whole kitchen at once. Pick the counter you use most, usually beside the stove or sink, and clear it completely. Wipe it down, then put back only daily items: a cutting board, knives, dish soap, and a drying rack if you need one. Everything else stays off that counter while you work through the rest.
That clear surface gives you a work area for sorting and proof that a clear counter is possible. Guard it: when mail or snacks drift onto it, move them to their real homes the same day.
Set up four zones
Zones are the heart of this system. Instead of organizing by container type or by whatever fits, organize by what you are doing. Four zones cover nearly every small rental kitchen.
Cook zone
The cook zone lives beside the stove: pots, pans, cooking oils, salt, pepper, and utensils you grab while food is on the heat. Keep the two pans you use most within easy reach. Pull out the five or six spices you use each week, give them one small tray or shelf near the stove, and store the rest together in one labeled bin higher up.
Prep zone
The prep zone is your clear counter plus the cabinet or drawer directly above or below it. Cutting boards, knives, mixing bowls, measuring cups, and a trash bowl or small bin for peels and scraps belong here. Adhesive hooks inside cabinet doors work well for measuring cups, because they free a drawer and keep the cups visible. If you chop vegetables most nights, keep one board and one good knife in this zone and store the spares elsewhere. Prep should need no more than two steps from this spot: reach, chop, and move on.
Store zone
The store zone holds food: cans, dry goods, snacks, and baking supplies. Group them in labeled bins so you can pull out a whole category at once instead of digging. Label bins for baking, snacks, and cans, and keep each bin to one category. A turntable in a corner cabinet stops items from vanishing into the back. Put the foods you reach for daily at eye level, and move backup stock and seasonal baking supplies higher. When you can see what you have, you buy fewer duplicates and you notice what is running low before you start cooking.
Clean zone
The clean zone is under the sink and beside it: dish soap, sponges, trash bags, and spray bottles. A tension rod fitted under the sink holds spray bottles by their triggers and frees the cabinet floor for bins. Keep one bin for cleaning supplies and one for extras such as trash bags and extra sponges. If the space under your sink is damp or crowded with pipes, use short bins that fit around the plumbing rather than one large bin that never sits flat. Cleaning supplies stay here and nowhere else, so you always know where they are when a spill happens.
No-drill fixes that actually hold
Removable tools do the heavy lifting in a rental. Shelf risers inside cabinets double the usable surface on a tall shelf: plates or mugs on the riser, bowls or cans below it. Measure the inside of your cabinet before you buy, and leave enough clearance to lift items out without tilting them. A turntable suits corner cabinets and deep shelves where items hide. Adhesive hooks inside cabinet doors hold measuring cups, small utensils, and dish towels without leaving holes, as long as you follow the label instructions for weight limits and clean the surface first.
Respect weight limits and give adhesive hooks the full curing time on the label before hanging anything heavy. Check hooks and the tension rod every few weeks, especially in a warm, steamy kitchen. If a hook starts to peel, remove it, clean the surface, and replace the adhesive strip rather than overloading the next hook.
Keep the system small
Kitchens grow clutter one gadget at a time. A new blender, a third water bottle, a set of mugs from a sale, and suddenly the cabinets are full again. The one in, one out rule for gadgets keeps the balance: when a new gadget comes in, an old one leaves, whether it goes to a donation box, to a friend, or into storage outside the kitchen. Apply the same thinking to mugs, containers, and reusable bags. You do not need to count everything or live with bare shelves. You need a clear limit that stops slow growth before it undoes your zones.
Match every lid to a base, recycle or discard the orphans according to local rules, and keep one neat stack. Check expired spices and pantry items too: keep what you use and let the rest go. A smaller, honest inventory fits a small kitchen better than a large, hopeful one.
Your renter-friendly kitchen checklist
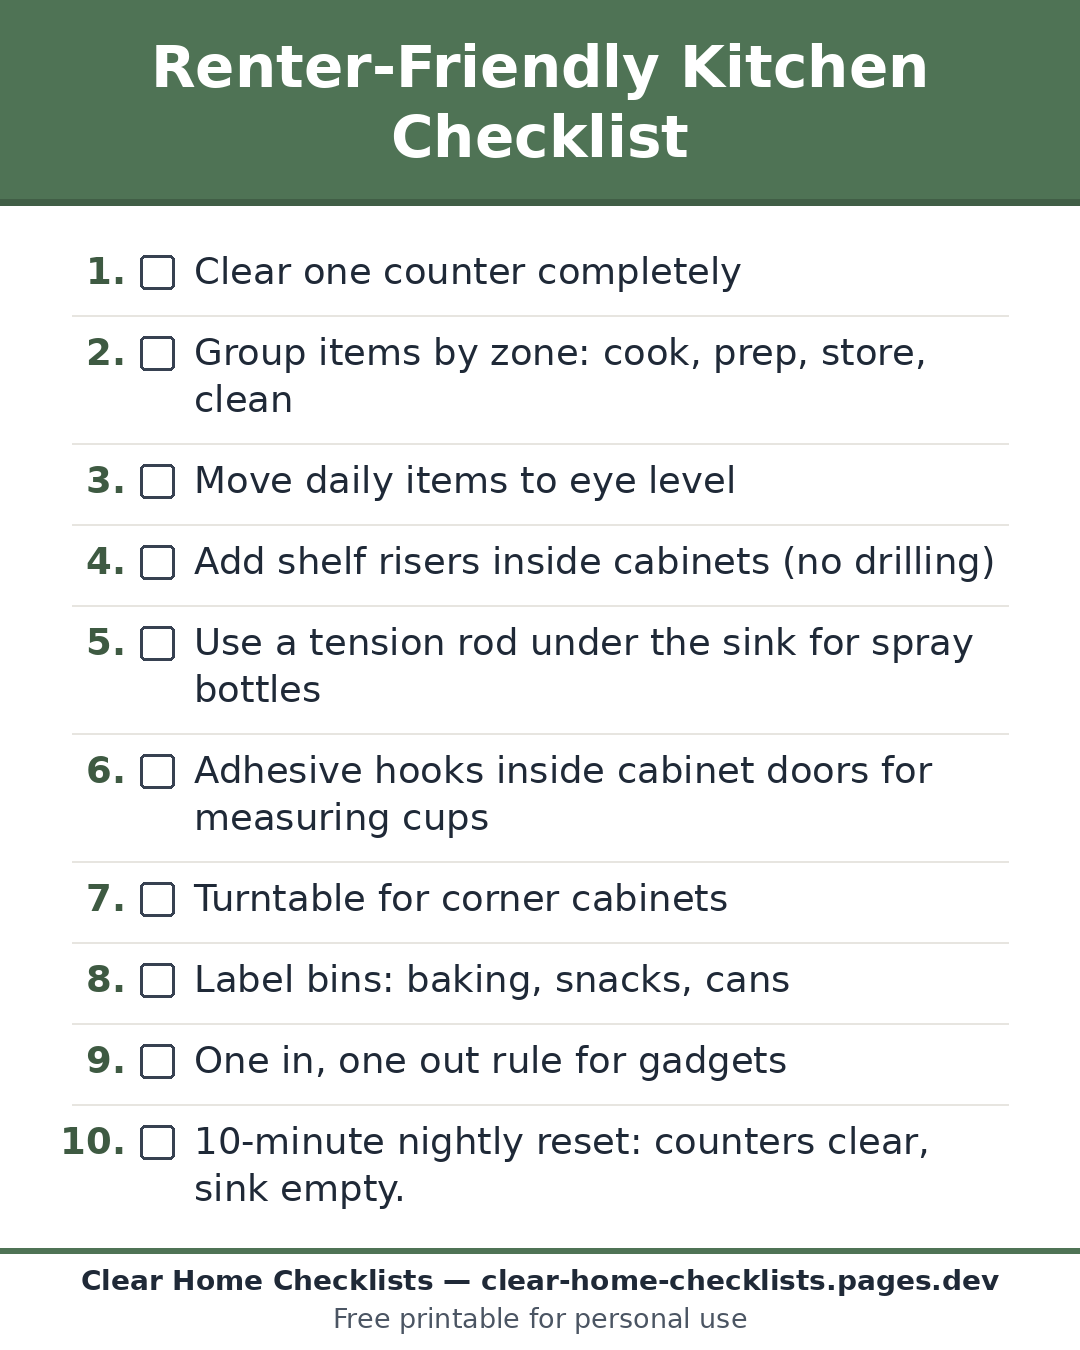
Use this checklist in order. Work through it over a weekend, one zone at a time, and check off each step as you finish it. The printable version below has the same items, so you can tape it inside a cabinet door while you work.
- Clear one counter completely
- Group items by zone: cook, prep, store, clean
- Move daily items to eye level
- Add shelf risers inside cabinets (no drilling)
- Use a tension rod under the sink for spray bottles
- Adhesive hooks inside cabinet doors for measuring cups
- Turntable for corner cabinets
- Label bins: baking, snacks, cans
- One in, one out rule for gadgets
- 10-minute nightly reset: counters clear, sink empty
A realistic first weekend
On Saturday, clear your counter and set up the four zones, about two hours if you work zone by zone. On Sunday, add the risers, turntable, tension rod, and hooks, then label the bins. After that, the nightly reset runs the system: ten minutes to clear counters, empty the sink, and return drifted items to their zones.
Frequently asked questions
Can I organize a rental kitchen without drilling any holes?
Yes. This system uses shelf risers, turntables, tension rods, and adhesive hooks, all removable, with no drilling required.
How long does the setup take?
About two hours on Saturday to set up the zones, plus a shorter Sunday session to add risers, hooks, and labels.
What if I have almost no counter space?
Start with one clear counter, even a small stretch, and protect it. The zones and nightly reset matter more than the size of the counter.